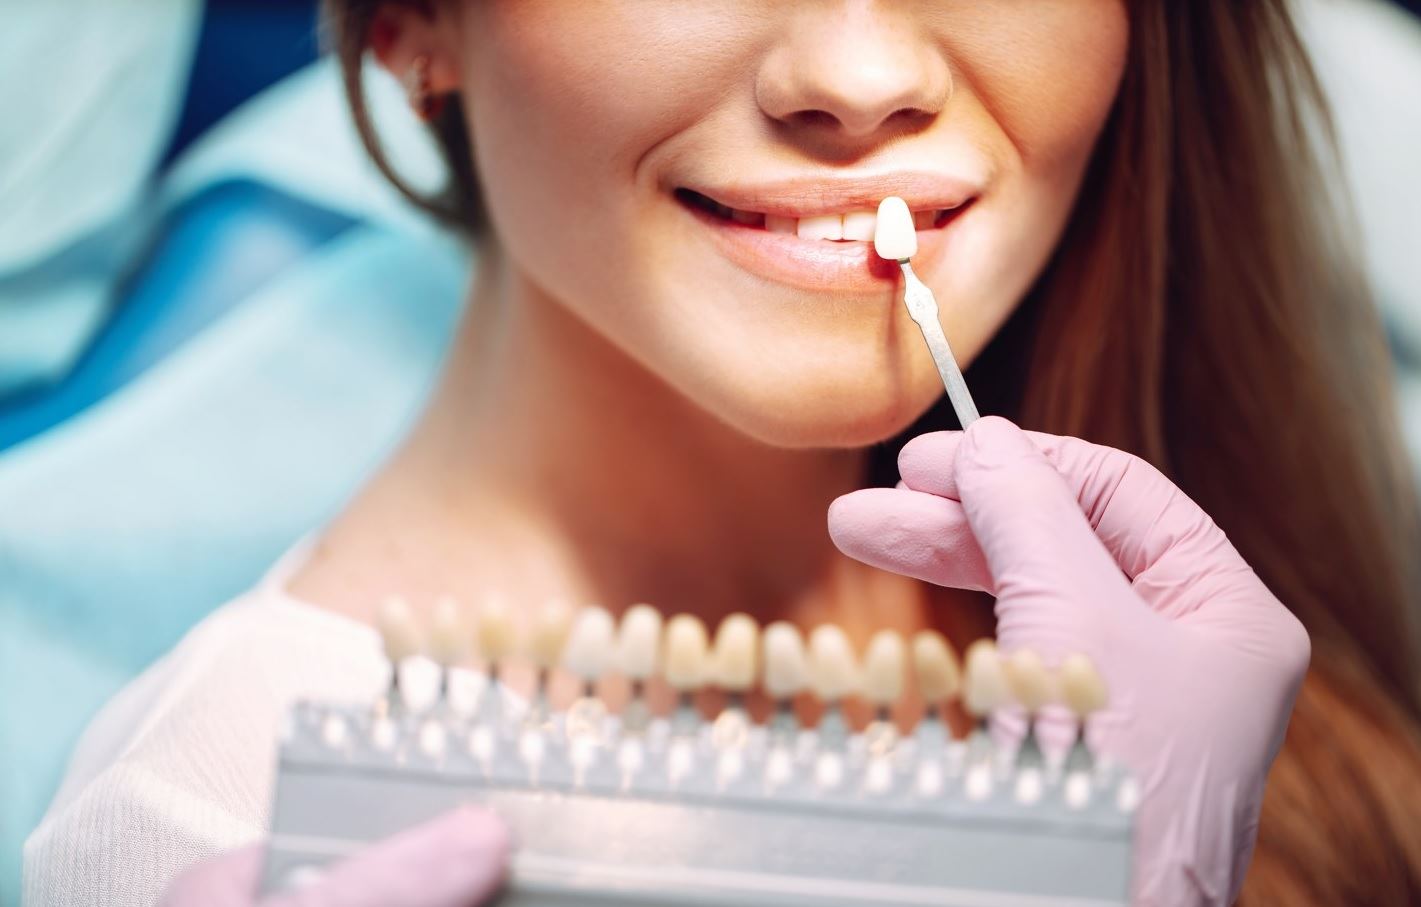
Process Of Porcelain Veneers — Step-by-Step
Porcelain crowns and veneers are often applied in a multi-step process. Here is a detailed explanation of each process:

Porcelain veneers
Your dentist will ask you about your objectives and goals during your initial consultation. To assess your oral health and establish whether you're a good candidate for veneers, your dentist will inspect your teeth, take impressions, and sometimes X-rays or photographs.
In this stage, the front surfaces of the teeth that will receive veneers have a tiny bit of enamel removed. Usually, the thickness of the veneer is equal to the amount of enamel that is removed. In order to assure your comfort throughout the procedure, local anesthetic may be administered.
After your teeth have been cleaned and prepped, your dentist will make an impression of them. The dental laboratory will use this impression as a mold to make your personalized veneers.
Veneers: While your permanent veneers are being created, temporary veneers may be bonded to your teeth. These temporary veneers offer a temporary esthetic fix while guarding your prepared teeth.
Your customized porcelain veneers will be made by the dental laboratory using the impressions you provided. This procedure could take a few weeks. Your natural teeth's natural shape, size, and color will be replicated by the veneers.
When your permanent veneers are prepared, you'll go back to the dental clinic for the last stage, veneer bonding. Your teeth will be properly cleaned by your dentist after the temporary veneers are removed. The temporary placement of the veneers on your teeth allows the dentist to assess their fit, look, and color. If necessary, adjustments can be done. Once everything is in order, a dental glue is used to adhere the veneers to your teeth, and a special light is utilized to solidify the adhesive.
Porcelain crowns:
Just as with veneers, your dentist will examine your teeth during your initial appointment, talk to you about your treatment objectives, and decide whether or not crowns are the best option. The health of your tooth may be assessed using X-rays or other diagnostic equipment.
In order to prepare the impacted tooth, any decaying or damaged regions must be removed. To make room for the thickness of the crown, a piece of the tooth's structure is also removed. Your comfort during this procedure may be ensured by the use of local anesthetic.
An impression of your tooth and the surrounding area is taken after dental preparation. To create your personalized crown, the dental laboratory will receive this impression.
Your dentist will install a temporary crown over the prepared tooth to safeguard it and preserve its appearance while your permanent crown is being created.
Your personalized crown will be made in the dental laboratory using the impression. The fabrication of the crown could take a few weeks. Usually, porcelain or a combination of materials is used to create the crown.
You'll need to go back to the dental clinic for the last step once your permanent crown is prepared. In order to check the permanent crown's fit, look, and color, your dentist will remove the temporary crown. If necessary, adjustments can be done. Once all is in order, a dental glue is used to attach the permanent crown on your tooth.
It's vital to remember that the precise procedures and timing may change based on your unique situation and the dentist's recommended methods. Your dentist will walk you through each stage and give you particular instructions and knowledge about your procedure.
If you have any questions you do not find here, please contact us.

